Mermaid Party Timeline & Planning Checklist
Plan a magical mermaid party with a simple timeline, ocean-inspired prep tips, and an easy day-of flow.
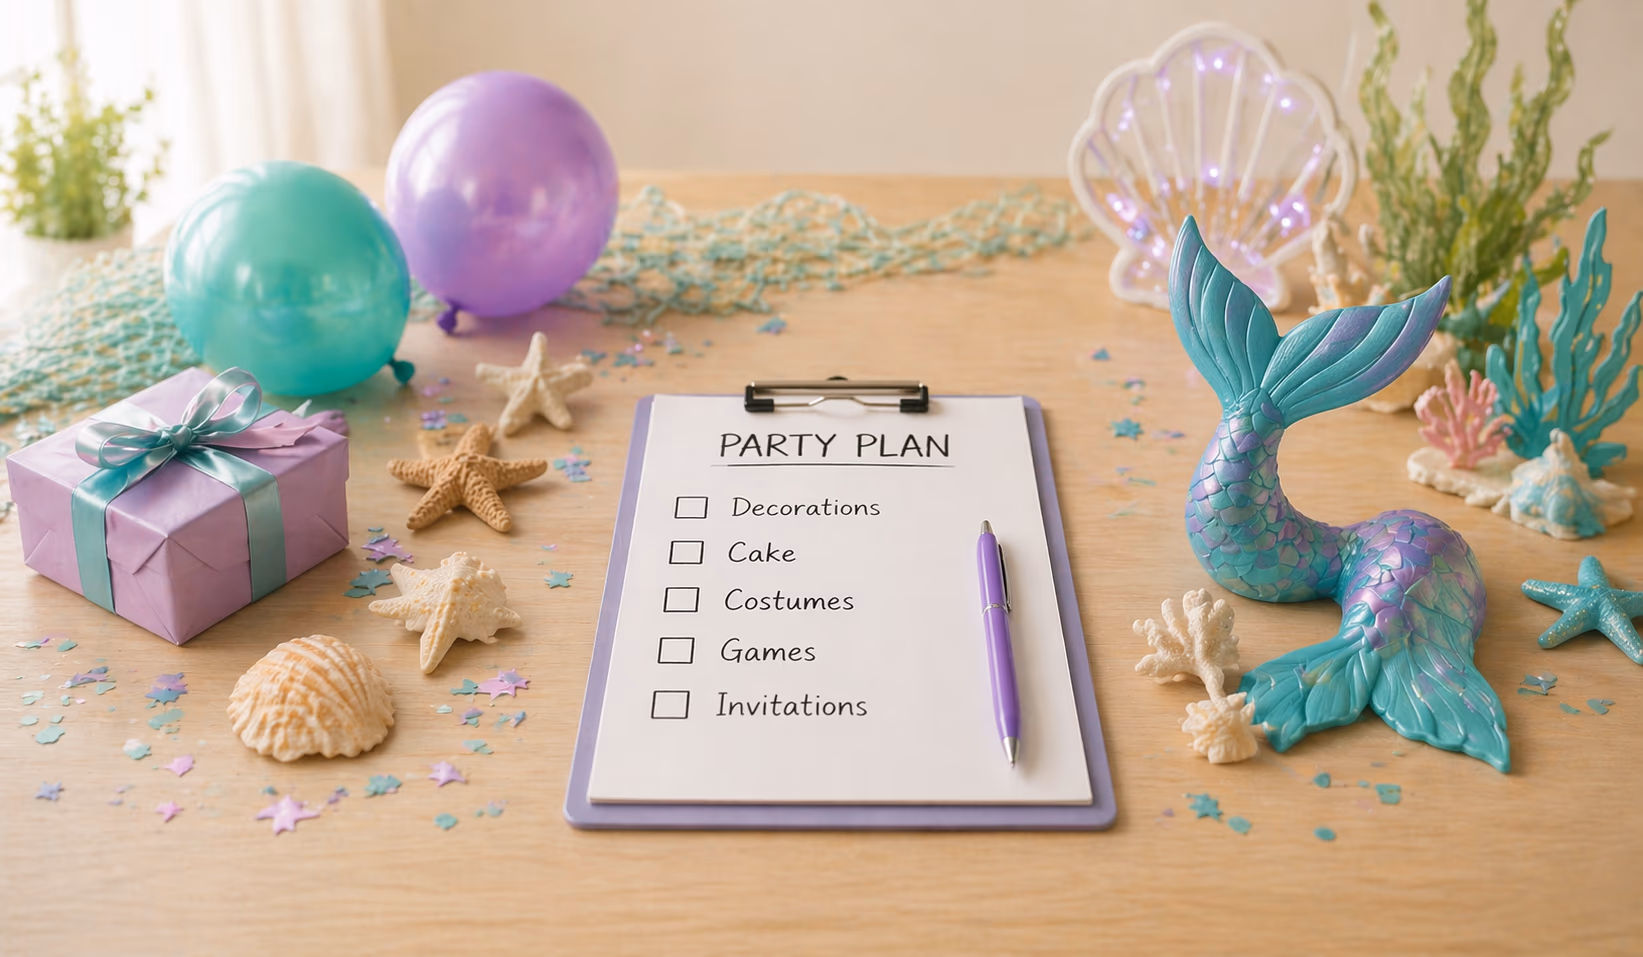
2–3 Weeks Before The Party
- Choose your under-the-sea party plan.
Choose your mermaid party direction, guest count, and party setup so the rest of the plan feels easy.
Send invitations early and make a short list of the supplies, serving pieces, and activity materials you still need.
- Order the big essentials first.
Place orders for your mermaid party decorations, tableware, balloons, and party favors while you still have time.
If you are using custom pieces, leave a little extra time for shipping and any last-minute swaps.
- Map out your mermaid party zones.
Sketch out where guests will eat, play, and take photos so setup feels intentional instead of rushed.
Decide which focal areas need the most attention, like the food table, entry, or favor station.
1 Week Before The Party
- Confirm your guest list and party pieces.
Confirm your headcount and send a quick reminder so parents know the time, location, and any outfit notes.
Double-check that all shipments arrived and make a short backup list for anything missing.
- Finalize your mermaid activities.
Choose one or two main moments like a treasure hunt, shell craft, or splashy photo area.
Set aside the shells, beads, signs, or table activities you want ready before party day.
- Lock in dessert, snacks, and favors.
Order the cake or dessert, finalize snacks and drinks, and make sure serving supplies are ready.
Set aside favors and any mermaid party extras now so you are not sorting them the day of.
1–2 Days Before
- Pre-stage your ocean details.
Pre-sort decorations by zone and label bins or bags so setup goes faster.
Assemble simple elements ahead of time, like favor bags, signage, or tabletop pieces.
- Prep for a smooth party flow.
Charge devices, print anything you need, and set aside scissors, tape, extension cords, and cleanup supplies.
Walk through the event from guest arrival to pickup so you know where transitions may need a little help.
- Keep the final prep window light and simple.
Pick up fresh food items, clear party surfaces, and leave yourself a little buffer time before guests arrive.